Exploring OpenType Fonts: A Simple Guide
OpenType is a flexible font format with cutting-edge features and multilingual support that improves typography. This article will provide a straightforward introduction to the world of OpenType and its features, installation process, and application usage.
What Is OpenType?
Special fonts called OpenType fonts combine the best qualities of TrueType and PostScript fonts. They can be distinguished by their file extensions, which include. otf and .ttf. By allowing variants, expansive character sets, and cutting-edge typography features, OpenType fonts go above and beyond ordinary fonts.
Key Features of OpenType Fonts
- OpenType fonts have a number of distinctive properties that set them apart:
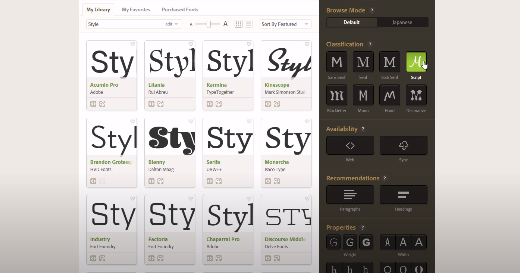
- Several styles and weights of OpenType fonts are supported in a single font file, offering you a wide range of design options.
- They are ideal for multilingual typography since they are based on Unicode, which is a standard that practically all other coding systems use.
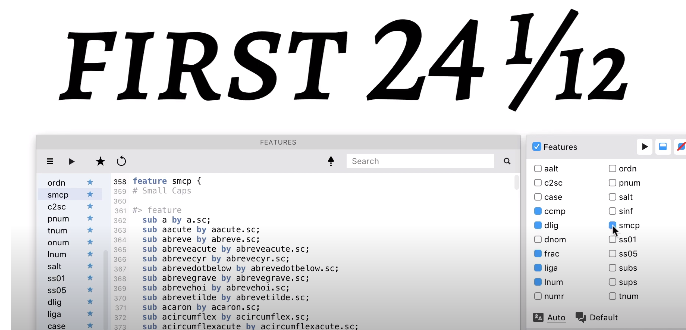
- Additional Glyphs: OpenType fonts can contain extra characters such as fractions, swashes, small capital letters, old-style figures, and more.
- Advanced Layout Features: By precisely positioning and replacing characters based on language or context, you can enhance the appearance of your text.
How to Install an OpenType Font
- OpenType fonts must be installed in order to be used. This is how:
- Get the font here: Purchase the OpenType font file from a reputable vendor. Microsoft Typography and renowned font foundries both offer free alternatives.
- Delete the Zip file: If a.zip folder containing the font is present, right-click on the folder and select “Extract” to open it.
- Set up the font: Install the font by selecting it with the right-click menu. The font file can also be dragged to the Fonts folder in your Control Panel.
- Hold off on installation: The installation will be handled by your computer, and you may monitor its status in the taskbar’s notification area.
The OpenType font will be prepared for usage with a variety of programs, including Microsoft 365 software and other programs that support OpenType fonts after you have completed the procedures above. By selecting “Preview” from the context menu when you right-click the file, you can also preview the font to see how it appears in various sizes and styles.
How to Uninstall an OpenType Font
- There are three ways to get rid of an OpenType font if you ever need to:
- Using the Settings app is method one.
- By hitting Start and choosing the gear symbol, you may launch the Settings app.
- Then click Fonts under Personalization.
- Select the typeface you wish to uninstall, then click “Uninstall.” Reiterate the action.
- Using the Control Panel is technique two.
- Open “Control Panel” by performing a search for it in the Start menu.
- Select Fonts under Appearance and Personalization.
- Click the “Delete” button after selecting the fonts you want to remove, then confirm the deletion when prompted.
- Utilizing Command Prompt is Method 3
- As an administrator, launch Command Prompt.
- To access the Fonts folder, enter “cd C: WindowsFonts” and press Enter.
- Type “dir *.otf” and hit Enter to display a list of installed OpenType fonts.
- Type “del font name.otf” (replace “font name” with the font’s name) to remove a font. Multiple typefaces can be deleted by separating their names with spaces.
Using OpenType Features in Word
- To improve the visual appeal of your publications, Microsoft Word supports OpenType capabilities. How to use them is as follows:
- Pick a Font That Is Compatible: Select a typeface with OpenType capabilities.
- Underline the Text: Choose the text that you want to format using OpenType options.
- Activate the Font Dialog Box: You may accomplish this by either hitting Ctrl+D on your keyboard or clicking the dialog box launcher in the Font group on the Home tab.
- Activate OpenType Features Look for the “OpenType Features” section under the Advanced tab in the Font dialog box.
Customize Features: Depending on the capabilities of the font, select the OpenType features you desire, such as ligatures, stylistic sets, or contextual alternates.
Apply Features: To add the OpenType features to your text after making your selections, click “OK”. The modifications will be immediately visible in your document.
You can improve the aesthetic appeal of your documents by using Word’s OpenType features.
Conclusion
As a whole, OpenType is a strong and adaptable font format with cutting-edge typographic characteristics. It is utilized in several programs, including Microsoft Word, to improve typography and produce expert writing. You may take full advantage of the features of OpenType fonts and produce documents with eye-catching visuals by learning how to install, uninstall, and use them.
FAQ
1. What Is OpenType?
Together, Adobe and Microsoft created the OpenType font format, which combines the benefits of TrueType and PostScript fonts. It has sophisticated typographic capabilities and supports multiple languages; file extensions.otf or.ttf are frequently used to identify it.
2. What Sets OpenType Fonts Apart?
OpenType fonts offer impressive attributes:
Variations in font: An OpenType font file can contain a variety of styles, allowing for creative versatility.
Based on Unicode, OpenType fonts support the majority of the world’s languages.
Additional Glyphs: These extra characters contain things like small capital letters, oversized figures, and more.
Precision character placement depending on language or context is made possible by advanced layout capabilities, which enhance typography.
3. How Do I Install an OpenType Font?
In order to install an OpenType font, do the following:
Obtain the font from a reliable website.
If the font is in a compressed.zip folder, unzip it.
Install the font by selecting it with the right-click menu. Alternatively, drop the font file into your Control Panel’s Fonts folder.
Hold off until the installation is finished.


